Since we last left off we had removed the reinforcement panels on the donor roof panel. We then removed the same panels from the t-top car. The reinforcement panels on the b pillar are identical for T top and non t top. The panels for the front a-pillars are slightly different on the t top car being slightly narrower near the sun visor area as well as incorporating in the bolts for the latch mechanism for the t top.

I only removed the spot welds on the front portion for these a pillar panels knowing that I was going to be cutting off the rest of the panel anyway. No sense in wasting a bunch of time drilling out spot welds if it is not needed.
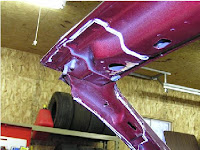
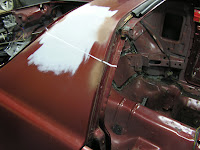
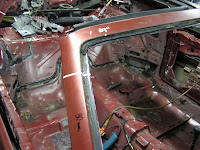
After this was done we began taking measurements to actually cut the roof off. Starting with the A pillars we made reference marks and measured from the bottom of the A pillar to the top. Our measurement was 29 inches on both sides (See photos of reference marks) The same reference marks where made on the b pillars. This was 12 5/8 inches. Before we made any cuts we also made measurements at the top of the door to the quarter panel to determine if the car sagged or bent in the middle once the roof was cut off.
We then drilled two holes in the b pillar to accurately scribe a line from one hole to the other.

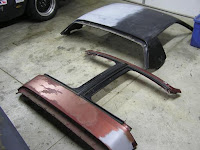
This would be the line we are going to follow when cutting the roof off. Identical holes in as close to the same location as possible where drilled in the donor roof. (See Photos). We then cut through the b pillar with a cutoff wheel attached to an angle grinder. A saws-all would also do but this worked fast and provided a nice cut.
We then focused our attention on the a pillars and simply cut straight through a oval hole that is common on both roof panels. This area was as good as any and served as a nice reference point. (See photos). We cut through the A pillar using the same angle grinder. Now the roof is off !!!!

We then cut the donor roof in almost the same location. We marked the roof in what would be the theoretical exact location then added a ¼ inch of material. This way we where sure not to cut off too much material and we could slowly trim off material until the roof fit perfectly. We started with the A pillars and slowly trimmed and fitted until the butted up together and fit perfectly together. All the while using out reference point to continuously measure the opening until it was a perfect 29 inches.

The b pillars where a little more time consuming and tedious but being patient helps. We used a combination of angle grinder , cutoff wheel and tin snips to get the b pillars to fit perfectly. Now that the roof is ready to be welded into place we are temporarily using vice grips to hold it in place so we can easily remove the roof to begin fitting the roll cage. Once we finish welding in the cage we will then weld the roof permanently in place.